
Red Velvet Brownies!

*This post may contain affiliate links. Please see my disclosure for more details!*
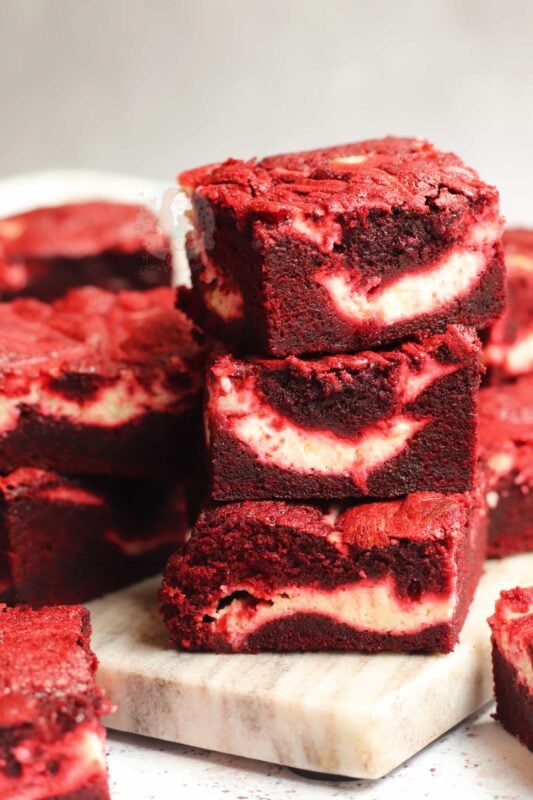
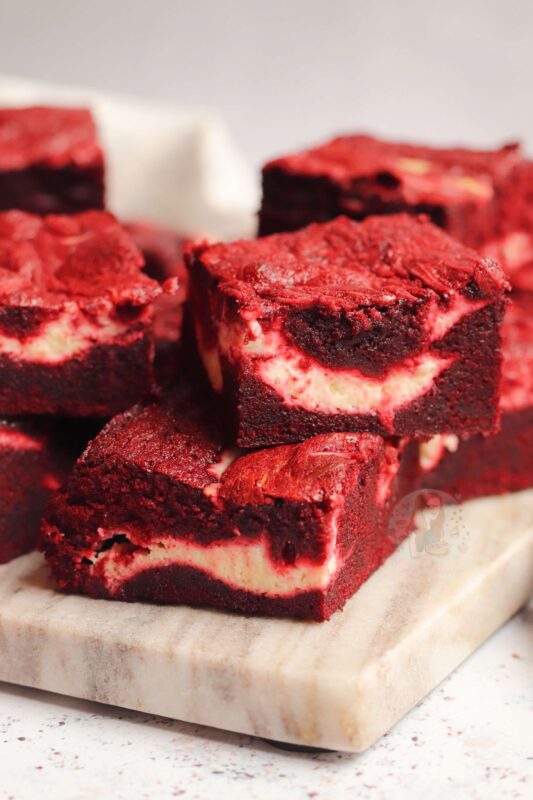
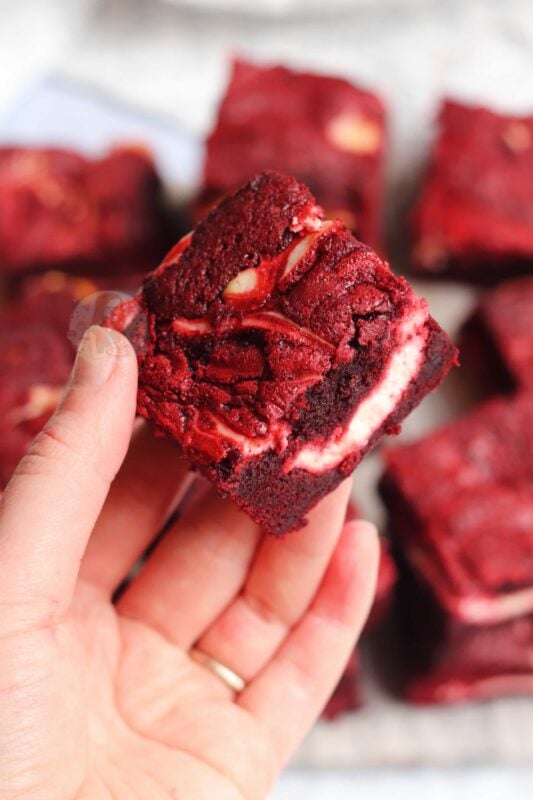
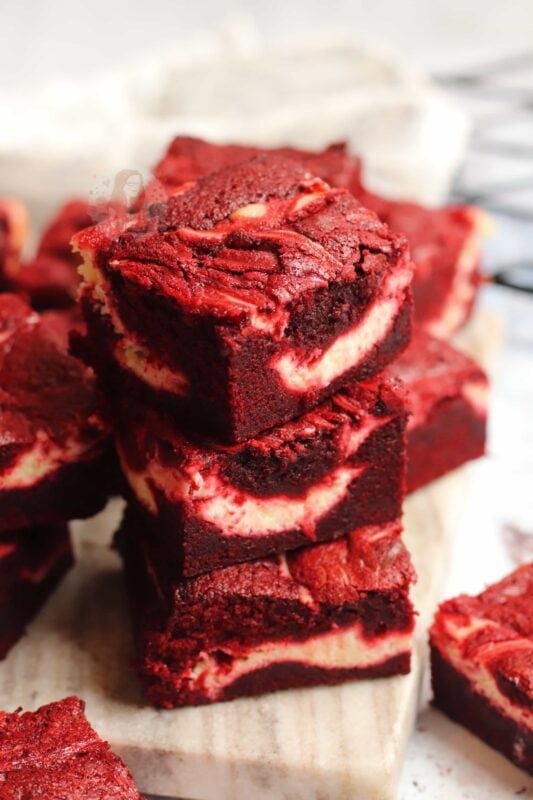
A simple yet delicious red velvet brownie recipe with a vanilla and chocolate red velvet inspired base, with a vanilla cheesecake swirl throughout. A fun and tasty brightly coloured bake that is easy to prep and make, and is always a good crowd pleaser.
Notes from The Patisserie
So the time has come, to give you… RED. VELVET. BROWNIES. Yeah, that’s right – red velvet brownies. This is a recipe that has been requested for longer than I can remember, so I am finally giving you the ultimate dream!
Some people may be a little confused from the beginning here about how you can have red velvet in brownie form, but roll with me. It’s possible. And it’s DELICIOUS. To explain the bake… red velvet cake is basically a chocolate and vanilla cake, that is also red. Originally, they were not made using red food colouring, but these days, it’s just the easiest and most straight forward route.
Ingredient notes + tips for the best bake
The brownie mixture
- Butter – for the brownie base you can use a block unsalted butter at room temperature, or you can use a baking spread/margarine
- Sugar – I used caster sugar as I don’t want any colour in the sugar, but I still want the sweetness. Using other sugars could change the end result as you are heavily relying on the food colouring
- Vanilla – I believe this to be essential in this bake for the flavour you are after – I prefer a good quality vanilla extract or vanilla bean paste
- Food colouring – read more below
- Eggs – I use medium eggs, so I use four in this recipe – but you can swap to three large if that is what you have instead
- Cocoa – I prefer to use a strong 100% cocoa powder, even though it is deeper in colour. This is because you need to use a smaller amount for the best results, but still get the richness of the chocolate
- Flour – it’s important to use plain flour here as you do not want any raising agent – anything else will cause a cake texture
- Vinegar – this adds flavour and helps with the texture of the brownie
The cheesecake mixture
As this cheesecake is a baked mixture, it’s quite different to other cheesecake recipes on my blog. It’s a simple four ingredient mixture that has a much runnier texture than others, so don’t worry if you think it looks different.
- Cheese – it’s best to use a full-fat soft cheese (you can use supermarket own, or a brand such as Philadelphia)
- Sugar – I use caster sugar to bring in the sweetness to combat the tart flavour of the cheese
- Vanilla – a hint of vanilla does a world of wonders for a simple baked cheesecake mixture
- Egg – one egg yolk helps actually bake the cheesecake mix, allowing it to set properly in the oven.
What red food colouring should I use?
The main issues with baking red velvet cakes and other bakes, has always been using the incorrect food colouring. I will say it over and over again.. you MUST use good quality colouring. Supermarket own colours (especially ones in the UK where I am from) are not good enough quality, unfortunately.
The quantity in which you use is also quite key, as the best colours are super super strong, you don’t need a lot. A little goes a long way, and you don’t want to go over kill as all strong food colours have a weight allowed per bake (always best to read the labels)
Cocoa powder is a vital ingredient, but also the ingredient that can cause food colouring to not work with it being brown and all – combat this, by using my recommended red food colour.
Making the best red velvet brownies
The full recipe and method can be found in the recipe card below, but here are some tips to make the BEST version of these that you can.
- Creaming together the butter and sugar fully first prevents any butter lumps in the batter later on – block butter I use at room temperature to make it easier to mix, but a baking spread or margarine can be used from fridge cold
- You do not need to use a fancy stand mixer or hand mixer to make these, you can definitely make them by hand. Just make sure to not over-mix, as any cake/bake mixture can have texture issues if it is over mixed.
- Baking until there is a small wobble in the middle is best – timings can vary in any recipe as ovens wildly vary themselves. Even if you have 10 electric fan ovens set to ‘the same thing’ it may still be different so it’s finding what works for your oven.
- It’s best to let them set in the tin and then fridge to let the brownies firm up and the cheesecake set properly before slicing
FAQs
Theoretically yes, but how colours respond to the mix depends on the colour, strength of colour and what you want as an end result.
No – the bottles of liquid colouring typically found in supermarkets are NOT strong enough (see notes above)
For sure! I use vanilla as a base as I find it complements the red velvet well, but you can leave this out, or flavour it completely differently. I would recommend 1tsp of a strong flavouring
Yes, you can! Half of the recipe fits a 7″ square tin. Baking time will reduce
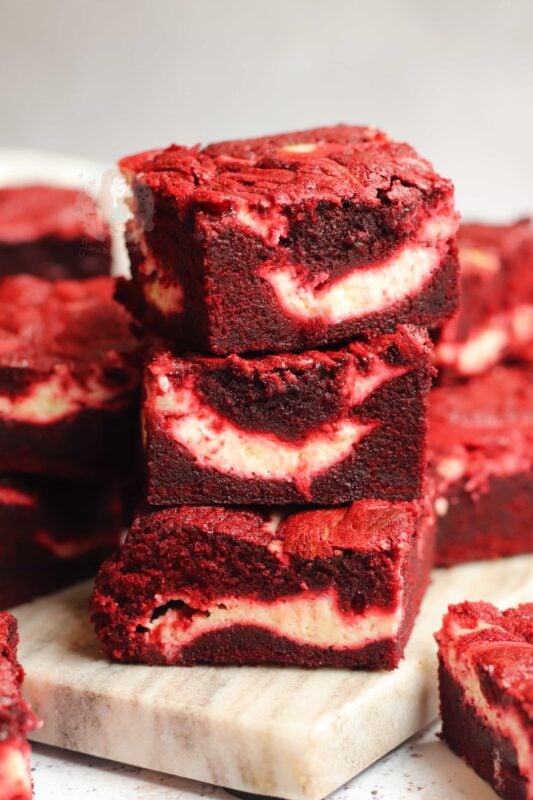
Red Velvet Brownie Recipe
Delicious and easy to make Red Velvet Brownies with a Vanilla Cheesecake Swirl
Red Velvet Brownies
- 150 g unsalted butter
- 275 g caster sugar
- 2 tsp vanilla extract
- 1 tsp red food colouring ((see blog post))
- 4 medium eggs
- 30 g cocoa powder
- 125 g plain flour
- 1 tsp white wine vinegar
Cheesecake Swirl
- 250 g full-fat soft cream cheese
- 75 g caster sugar
- 1 tsp vanilla extract
- 1 egg yolk
Preheat your oven to 180ºC/160ºC fan and line a 9×9" square tin with parchment paper
In a large bowl, beat together the butter and sugar until combined
Add in the vanilla and red food colouring and mix again
Add in the eggs and mix together
Add in the cocoa powder, and plain flour, and mix.
Finally, add in the white wine vinegar and stir through
In a separate bowl, add the full-fat soft cream cheese and mix to loosen slightly
Add the sugar and vanilla and mix together
Add the egg yolk, and mix through.
Pour 90% of the brownie mixture into the prepared lined tin
Dollop over the cream cheese mix, and then dollop over the last little bit of brownie mix
Swirl the mixture together – and then bake in the oven for 28-35 minutes. Mine were in for 30.
Leave to cool in the tin, and then set in the fridge for at least an hour (but preferably overnight)
- These will lsat for 3-4+ days, in the fridge.
- They can freeze for 3+ months
- I recommend using this red food colouring for this recipe
- I also recommend using this 9 square tin for this recipe.
Storage & Freezing
These red velvet brownies are delicious once they have been chilled and set in the fridge. They will last for 3-4+ days, preferably in the fridge due to the cheesecake mixture. They could last out of the fridge for a couple of hours on a cool day, but really they should be chilled.
These red velvet brownies can be cooled for 3+ months – I would personally portion the red velvet brownies first, and then freeze in a freezer safe container.
Hi Jane, these are excellent and I need to make some for a socially distanced event. Can I make them in a large baking tray. Or should I use 3 or 4 “9×9” trays?
Hey! As they are baked into a 9×9″ tray for the best results (due to timings etc) I would maybe do the 3 or 4 9×9″ xx
These taste amazing!! I only had supermarket colouring in and did have to use a lot just to get a little red tint to it so have now ordered the gel colouring you recommended and will definitely make them again!
Ahh yay! I hope the good colour works wonders for you! X
Hi, the cheesecake filling, is it block cream cheese or spreadable? It is ridiculously hard to get block cream cheese regularly in the UK!! Thanks
I’m in the UK and just use Philadelphia! If you have block, use it, but if not – any full-fat soft cream cheese works.
Just made these and struggled with getting a red colour. Maybe I used too much coco powder but I ended up using half a bottle of red colouring and it was still brown ☹️
What brand of food colouring did you use?
Hey Jane what is the best way to check if thr brownie is done. Also the cream cheese mixture was quite liquid is that how it’s supposed to be?
Hey! So they should have a slight wobble still as they’ll continue to bake whilst cooling – and yes as it’s a baked cheesecake mix it can be more liquid!
Just made these and followed the recipe. Why has my cheesecake mix sunk to the bottom?
Think I’m going to have to throw the lot out 😭😭 did double the amount aswell
Hiya – it probably was because there was too much if you did double! And it may have been swirled in too much, so it sank!
I was making 2 trays of them so that’s why I doubled. I’ll try them again and not swirl so much x
I’m about to they baking these, I’m really looking forward to them as I have done the red velvet cookies and they were delicious. I was wondering if you are able to try making a red velvet, no bake, cheesecake. I have seen some on google, but because I know all of your recipes are amazing, I thought maybe you would be able to make the best one. 😀
Jemma
I hope you love these, and I’m glad you liked the cookies! And its on my list to do!! x
Can I omit the Cheesecake Swirl? if so, will the baking time adjust?
You can! The baking time will decrease quite a bit (not 100% sure how much)!
Hiya i wanted to ask if you cant have white wine biniger what else can you use?as i want to use this recipe but notsure what to use instead
I would use an apple cider vinegar, or another white vinegar!
I don’t have a 9″ Square tin would 8″ be too small? And 10″ too big? What about a 12 by 8 inch rectangular tin.
Thanks
The 10″ square and 12×8″ rectangle are roughly the same size, and 1.2x the recipe – so the mix is a bit small for it, and the 8″ is about 0.8x the recipe. I would use the 8″, but bake for a bit longer!
I’m really looking forward to trying these. Thank you for your hard work preparing it! Would these be okay to bake into a foil tin and freeze for another time?
Also any tips for cutting these when you’ve made them?
Thank you
I don’t see why it wouldn’t work!! I just use a sharp knife to cut them! X
10/10 for taste however, I used nearly half a bottle of food colouring and they still didn’t turn out red which was disappointing.
Which food colouring would you recommend for next time, so I don’t face the same problem?
Thank you. 😊
Did you use supermarket colouring? Unfortunately as mentioned in the recipe post that will never work as they are awful – the one I use is linked on the post! x