
Jane's Patisserie » Recipes » Best Baking Recipes » Red Velvet Cake!
Red Velvet Cake!

*This post may contain affiliate links. Please see my disclosure for more details!*
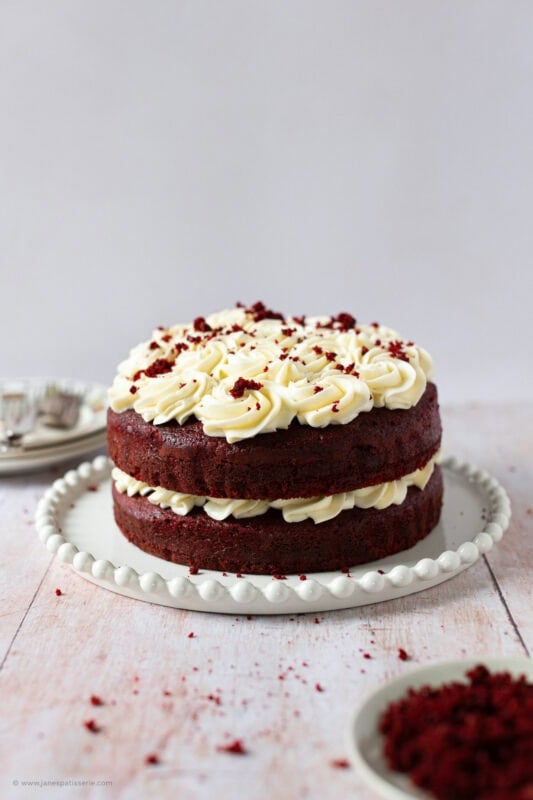
This striking classic red velvet cake features a wonderfully light, cocoa-kissed sponge layer perfectly balanced by a thick, velvety cream cheese frosting. Requiring 20 minutes of active prep, 30 minutes of baking time, and a 3.5-hour chill, this recipe creates a beautiful 12-slice showstopper that masters the perfect red velvet crumb.
Notes from The Patisserie
The vibrant crimson of a modern red velvet cake is a beautiful marvel of baking chemistry. Historically, the reddish tint came from a natural reaction between the cocoa powder and acidic ingredients like buttermilk and vinegar, which activates the red in the cocoa.
Today’s cocoa powders are heavily alkalised to reduce acidity, which neutralises this reaction and leaves the cake a dark brown. To achieve that signature, show stopping bright red, you must rely on high-quality gel colourings rather than standard liquid supermarket bottles, which contain too much water and fade under oven heat.
The red velvet texture
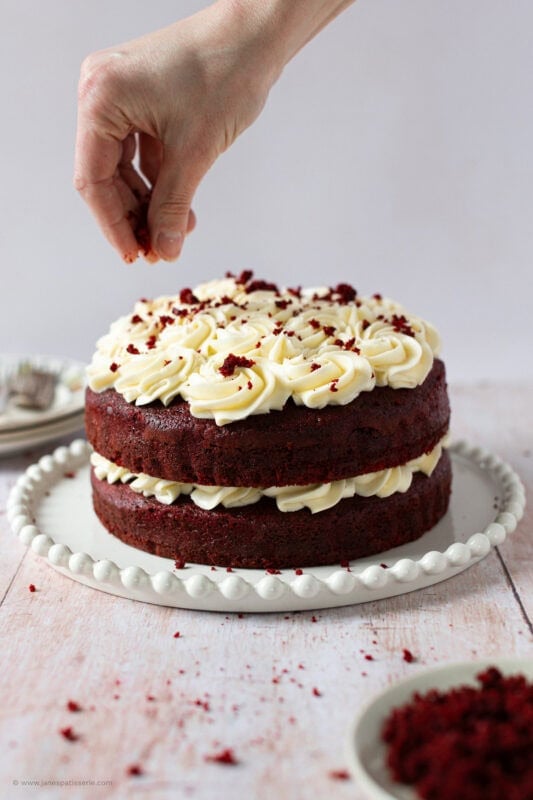
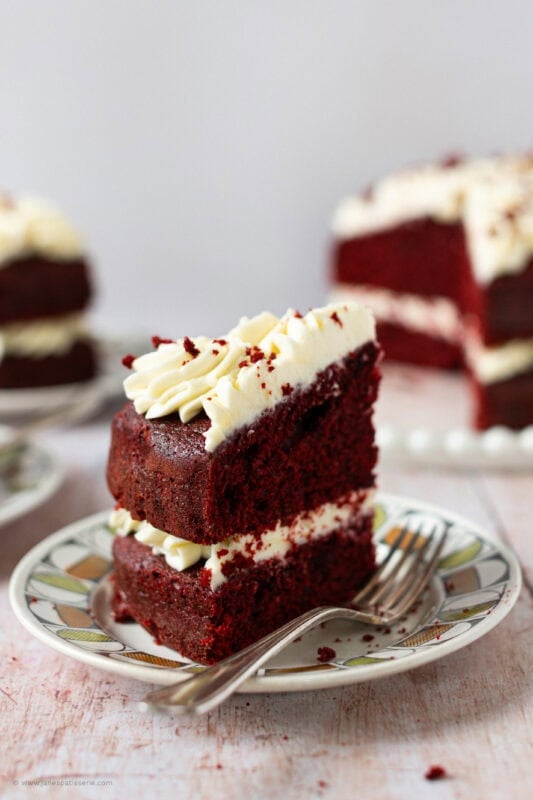
The word “velvet” isn’t just a marketing term; it describes the incredibly fine, tight, and soft crumb structure of the cake. This unique texture is triggered by a quick-acting chemical reaction between the ingredients:
- Butter – I use unsalted butter at room temperature
- Sugar – caster sugar provides a finer granule of sugar to create that fine crumb
- Eggs – as usual I use medium eggs unless stated otherwise
- Cocoa powder – high quality cocoa powder is the difference in flavour and texture
- Red colouring – I use high quality food gel, a little goes a long way!
- Vanilla – I use vanilla extract for that classic flavour profile
- Buttermilk – the acidic profile works with the akalines creating bubbles in the batter
- Flour – plain flour works well here as we are creating a rising reaction elsewhere
- Bicarbonate of soda – this is the main akaline being utilised to react with the buttermilk
- Vinegar – I use white wine vinegar to act as another acid to work with the bicarb
When the acidic buttermilk and white wine vinegar hit the alkaline bicarbonate of soda, they instantly react to release carbon dioxide bubbles. This reaction causes the batter to expand rapidly in the oven, lifting the heavy flour and creating a crumb that is light, brilliantly tender, and uniquely melt-in-the-mouth.
Delicious cream cheese frosting
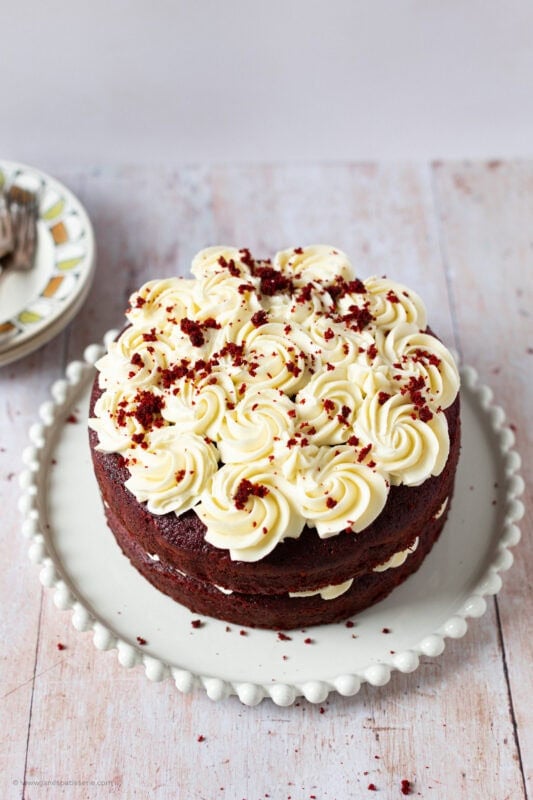
The cake has a delicious mix of the flavours of chocolate and vanilla, which is utter heaven to me. The cream cheese frosting on top is sweet, delicious, and marries with the cake perfectly – but cream cheese frosting can always be a liiiittle bit runny in comparison to others, thats its nature, however, as long as you don’t over beat it too much, it’ll be lovely and delicious.
I love this cake so so so much, so I really hope you guys do too. For the cream cheese frosting, you have to make sure that your cream cheese has no extra excess liquid, and try not to over mix the mixture. Also, room temperature butter is important so there is no lumps. Take a look at this blog post for a whole post dedicated to cream cheese frosting.
FAQs
Can I use a liquid food colouring if I double the amount?
No, liquid colourings contain too much water and will alter the chemistry of the batter, resulting in a dull, brownish cake with an unpleasantly bitter taste.
Why does the flour and buttermilk need to be added in stages?
Alternating between the dry flour and liquid buttermilk prevents the fat in the creamed butter mixture from separating, ensuring a completely smooth, emulsified batter.
My frosting looks a bit lumpy at first, what should I do?
Don’t panic; cream cheese frosting often goes through an unappealing lumpy stage, so simply keep beating it for a few minutes and the lumps will smooth out perfectly.
Can I use standard baking powder instead of bicarbonate of soda?
No, baking powder does not have the same intense alkaline strength needed to react with the vinegar and buttermilk to create the classic velvet crumb.
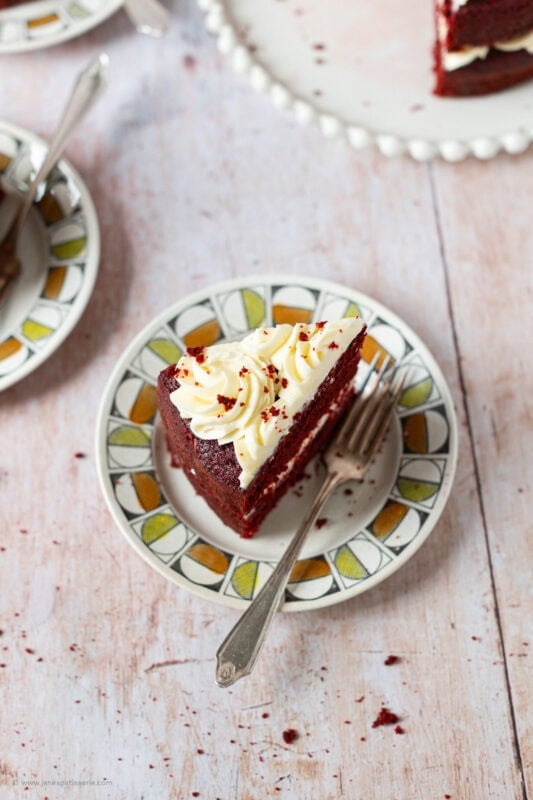
Red Velvet Cake!
A delicious & light and moreish red velvet cake smothered in cream cheese frosting – hello cake heaven!
Print
Pin
Rate
Servings: 12 slices
Ingredients
Cake
- 125 g unsalted butter
- 300 g caster sugar
- 3 medium eggs
- 30 g cocoa powder
- 1 heaped tsp red food colouring
- 1 tsp vanilla extract
- 250 ml buttermilk
- 300 g plain flour
- 1 tsp bicarbonate of soda
- 2 tsp white wine vinegar
Cream Cheese Frosting
- 150 g unsalted butter (room temperature)
- 150 g icing sugar
- 300 g full fat cream cheese
- 1 tsp vanilla extract
Instructions
Cake
- Preheat your oven to 170ºc/150ºc fan and line/grease two 8" cake tins – leave to the side for now.
- Beat together the unsalted butter and caster sugar in a stand mixer until smooth and fluffy like you would a normal cake, and then gradually beat in the egg so that it doesn't curdle (if it doesn't curdle, beat in a little flour to bring it back)
- In a small bowl, mix together the cocoa powder, Sugarflair red extra food colouring, and vanilla extract to a thick dark paste (if it is struggling to become a paste, then add in a little milk to make it runnier and mix better – it needs to be smooth!) – it may take a couple of minutes but this will make it easier to add to the rest of the mixture if you do it this way – and the sponge will be more red!
- Add this mixture to the unsalted butter and caster sugar mixture and beat until combined and evenly coloured.
- Turn the speed down to slow, and pour in half of the buttermilk.
- Add in half of the plain flour and beat again, and then the other half of the buttermilk & beat, and then the other half of the flour & beat (I realise this is faffy, but it works!).
- Beat in the bicarbonate of soda and white wine vinegar.
- Beat again for a couple of minutes until everything is smooth and incorporated well.
- Separate into the two tins and bake in the oven for 30-35 minutes until the middle of the cake comes out clean when poked with a skewer!
- Once the cakes are baked, leave to cool fully on a wire rack.
Cream Cheese Frosting
- Make sure your unsalted butter is at room temperature. I leave mine out overnight when it's cold weather, but in the hotter months this can take as little as 30 minutes!
- Beat your butter on it's own for a few minutes to loosen it.
- Add in the icing sugar, and beat again – I beat this for about 5 minutes, to make it really smooth.
- Make sure your cream cheese doesn't have any excess water – I find it best to add it to a bowl first just to make sure.
- Add in the cream cheese, vanilla and beat. At first, it may look a little weird, but just keep on beating.
- I end up beating it for a few minutes – it can go through a lumpy stage first, but eventually the lumps beat out and it's smooth and thick!
- Once beaten – it should be lovely and thick.
- Pipe/spread 1/2 of the frosting onto the top of one sponge.
- Add the other sponge on top, then pipe/spread the other half of the frosting onto the top and decorate with sponge crumbs if you fancy!
Notes
- This cake will last in the fridge for up to 3 days, covered, or you can freeze it for up to 3 months!
- I use these 8″ Cake Tins
- I use this red food colouring
- I use this Vanilla extract
- I use this Medium 2D Closed Star Piping Tip
- If you would like the original cream cheese frosting recipe it is:
- 125g room temperature unsalted butter, 280g full fat cream cheese, 1 tsp vanilla extract, 400-600g icing sugar.
- Beat the butter and cream cheese together until smooth, and add the vanilla extract.
- Gradually add the icing sugar until thick and delicious.
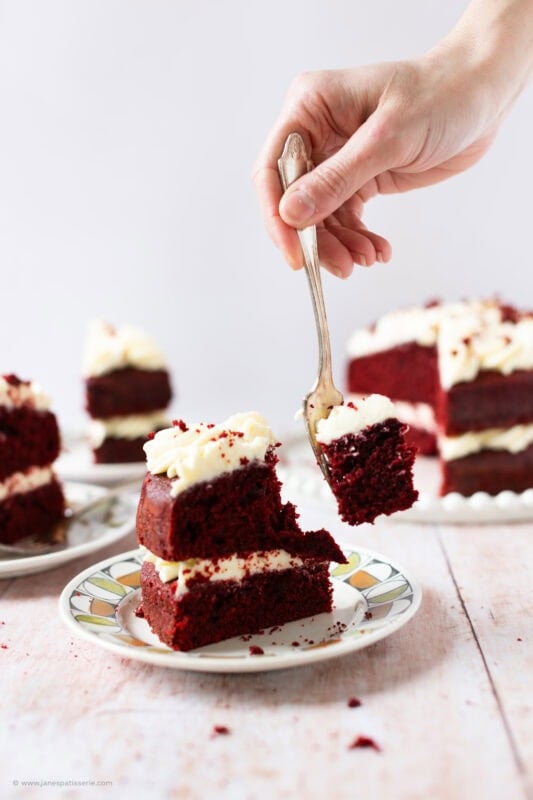
Storage and freezing
Because of the high dairy content in the cream cheese frosting, I keep the cake covered and stored in the refrigerator, where it will stay wonderfully moist and delicious for up to 3 days. If you want to prepare this dessert well in advance, the un-iced sponge layers can be wrapped tightly in plastic cling film and frozen for up to 3 months. Simply thaw them completely at room temperature before whipping up your fresh frosting and assembling.
Related recipes
Red velvet cake is one of those ‘in things’ that all coffee shops will sell at some point, and the recipe that everyone wants to have and use, but its one of the most inconsistent cakes to make at home that I have come across. I use this as a base for all things red velvet – red velvet NYC cookies, red velvet brownies, red velvet loaf cake and red velvet cupcakes… the list goes on.
YUMMY!! This recipe is DE-LICIOUS!! It was honestly so easy to follow, thanks to your amazing instructions Jane. I am loving the red velvet now! The colour was perfect, just as you imagine it to be, I used the extra red as recommended.
A big thank you for sharing Jane
Hi Jane, I love your blog and Instagram page, I always enjoy a read to see what delicious bakes you’ve made.
Your recipes are amazing and you cover everything step by step with such helpful information, thank you so much for sharing. I’ve always avoided the red velvet as it worries me for some reason, but am going to give it a go this week for my friends birthday – yikes! The plan is to make a two tier, the red velvet being on the bottom with 4 layers of sponge. Using all the usual dowels and everything for support do you foresee any problems with this? It will be covered with buttercream so can be kept in the fridge. Much appreciated
Red velvet has always been a weird one for bakers, I wouldn’t worry!! As long as you have the correct type of food colouring, and weigh everything well, it should be dandy!
And yes as long as it’s dowelled correctly then it should be absolutely fine!
Hi Jane!
I want to make this cake tomorrow but as three tiers rather than 2. Would you please advise me with regards to the increased quantities of the ingredients and also how long to bake it for please xx
Add on another 1/2 of the recipe, and bake into three tins! Should be the same baking time then!
Made this recipe yesterday, absolutely delicious and turned out beautifully! I’m making this recipe again but will divide into two 11 inch pans. Should I just double the recipe, or add another half of each ingredient? I complicate things too much in my brain haha.
I would double the recipe! x
Hi Jane! I was just wondering, if I wanted to double the recipe to make a 4 layered cake what would be the best way to bake them? In two pans and then cut through the middle or bake in four separate tins?
I would personally bake in four tins x
Hi Jane, amazing recipe! Family were huge fans when I made this. Have you ever tried to make red velvet brownies/cookies? I’ve had a look for a recipe online but it’s all cup/American measurements which never seem to work for me! Thanks!!
Hi Jane, I looovee your blog!! Amazing recipes and love how you explain and give tips! Will be baking this tomorrow for a bday cake. Would you recommend using cream cheese for in between the two layers and Swiss meringue for the top and outer layer? I will need to use the Swiss meringue on the outside so not sure if it will match well?xx
If you use the cream cheese frosting you’ll have to store it in the fridge, so if you’d rather avoid that then use the Swiss meringue for all of it, or just a regular buttercream in the middle xx
Hi, just wondered if this recipe would translate into cupcakes? Thanks 🙂 x
It can do! But I do have a red velvet cupcake recipe already on my blog if that would be easier.
Sorry to be a pain…can someone just clear up the cream cheese as I can only find the Philadelphia full fat soft cheese (is this what I’m meant to buy) forgive my naivety. Thanks for any help given x
I made this cake for hubby’s birthday today as he loves red velvet cakes. It tasted delicious, however I wish I had listened to you and bought the sugar flair red food colour as the cake wasn’t as red as I had hoped it would be (I used Dr Oetker extra red gel)! Love all your recipes!!
Ahh I’m so glad it was enjoyed! And yeah, I only use colours from sugar flair or progel because they really are the only ones that work well enough!
Hi Jane Can I ask where you get your cream cheese from? All the shops in the UK only sell tubs of cream cheese which is whipped and it’s doesn’t have a thick consistency like the blocks of cream cheese have. Thanks
I bought the philadelphia tubs from the supermarket – if you’re concerned, you can squeeze out the excess liquid using a Muslin Cloth.
Hi Jane,
Would this cake be sturdy enough to cover in sugarpaste?
I’ve never personally tried – but if you’re filling with cream cheese frosting it must be kept in the fridge, and sugar paste shouldn’t be in the fridge.